
A Step-by-Step Guide to Setting Up a Photo Booth at Home


Introduction
Creating a photo booth at home can be a fun and engaging way to capture memories at events or simply enjoy a creative project. Whether you're preparing for a birthday party, wedding, or just a casual get-together, a DIY photo booth will delight your guests and provide lasting keepsakes. Follow this step-by-step guide to set up your own photo booth at home with ease.

Gather Your Equipment
Before you start setting up your photo booth, it's essential to gather all the necessary equipment. Here's a list of what you'll need:
- Camera: Use a DSLR, point-and-shoot, or even a smartphone camera with a good resolution.
- Tripod: A sturdy tripod will keep your camera steady and ensure clear shots.
- Lighting: Consider using ring lights, LED panels, or natural light to illuminate your booth.
- Backdrop: Choose a backdrop that complements your event theme.
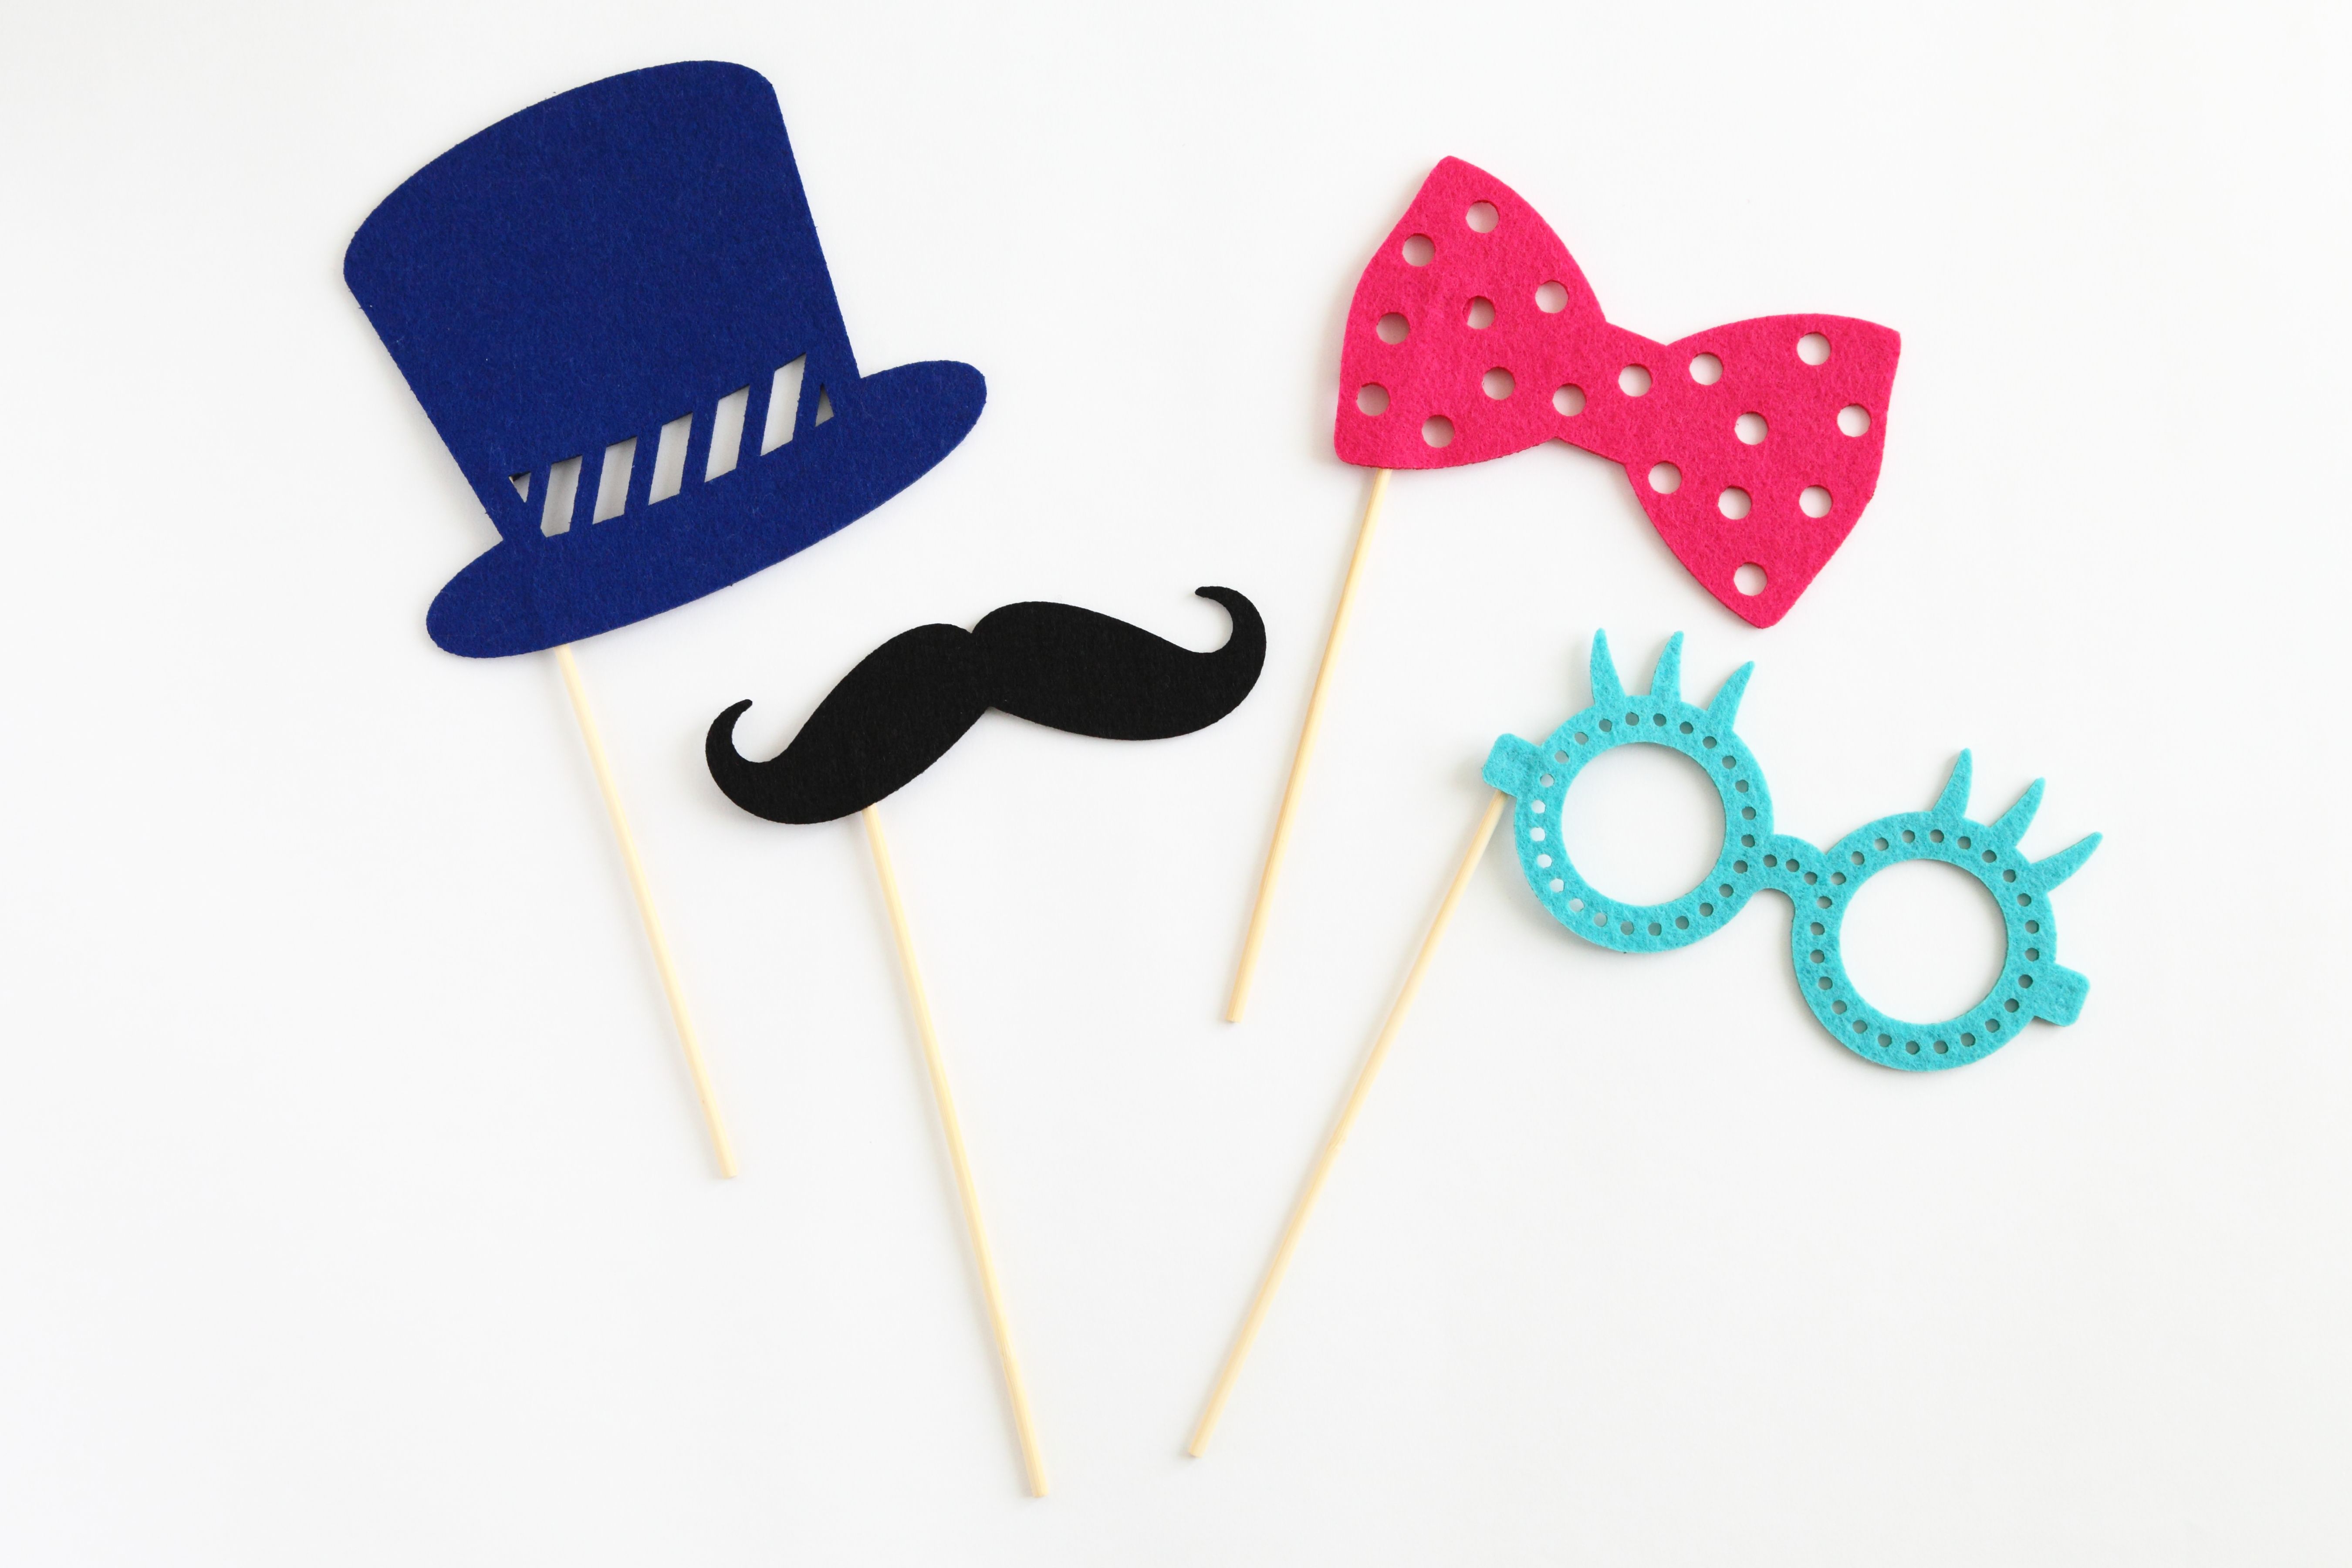
- Props: Gather fun props like hats, glasses, and signs to add character to your photos.
Select the Perfect Spot
Choosing the right location for your photo booth is crucial. Look for an area in your home that is spacious enough to accommodate your setup and has good lighting. If possible, set up near a window to take advantage of natural light. Ensure there's enough room for guests to pose comfortably without feeling cramped.
Set Up Your Backdrop and Props
Your backdrop sets the stage for the entire photo booth experience. You can use fabric, paper, or even a customized backdrop to reflect the theme of your event. Secure it firmly to a wall or backdrop stand. Arrange your props on a nearby table or shelf so guests can easily access them during the photoshoot.
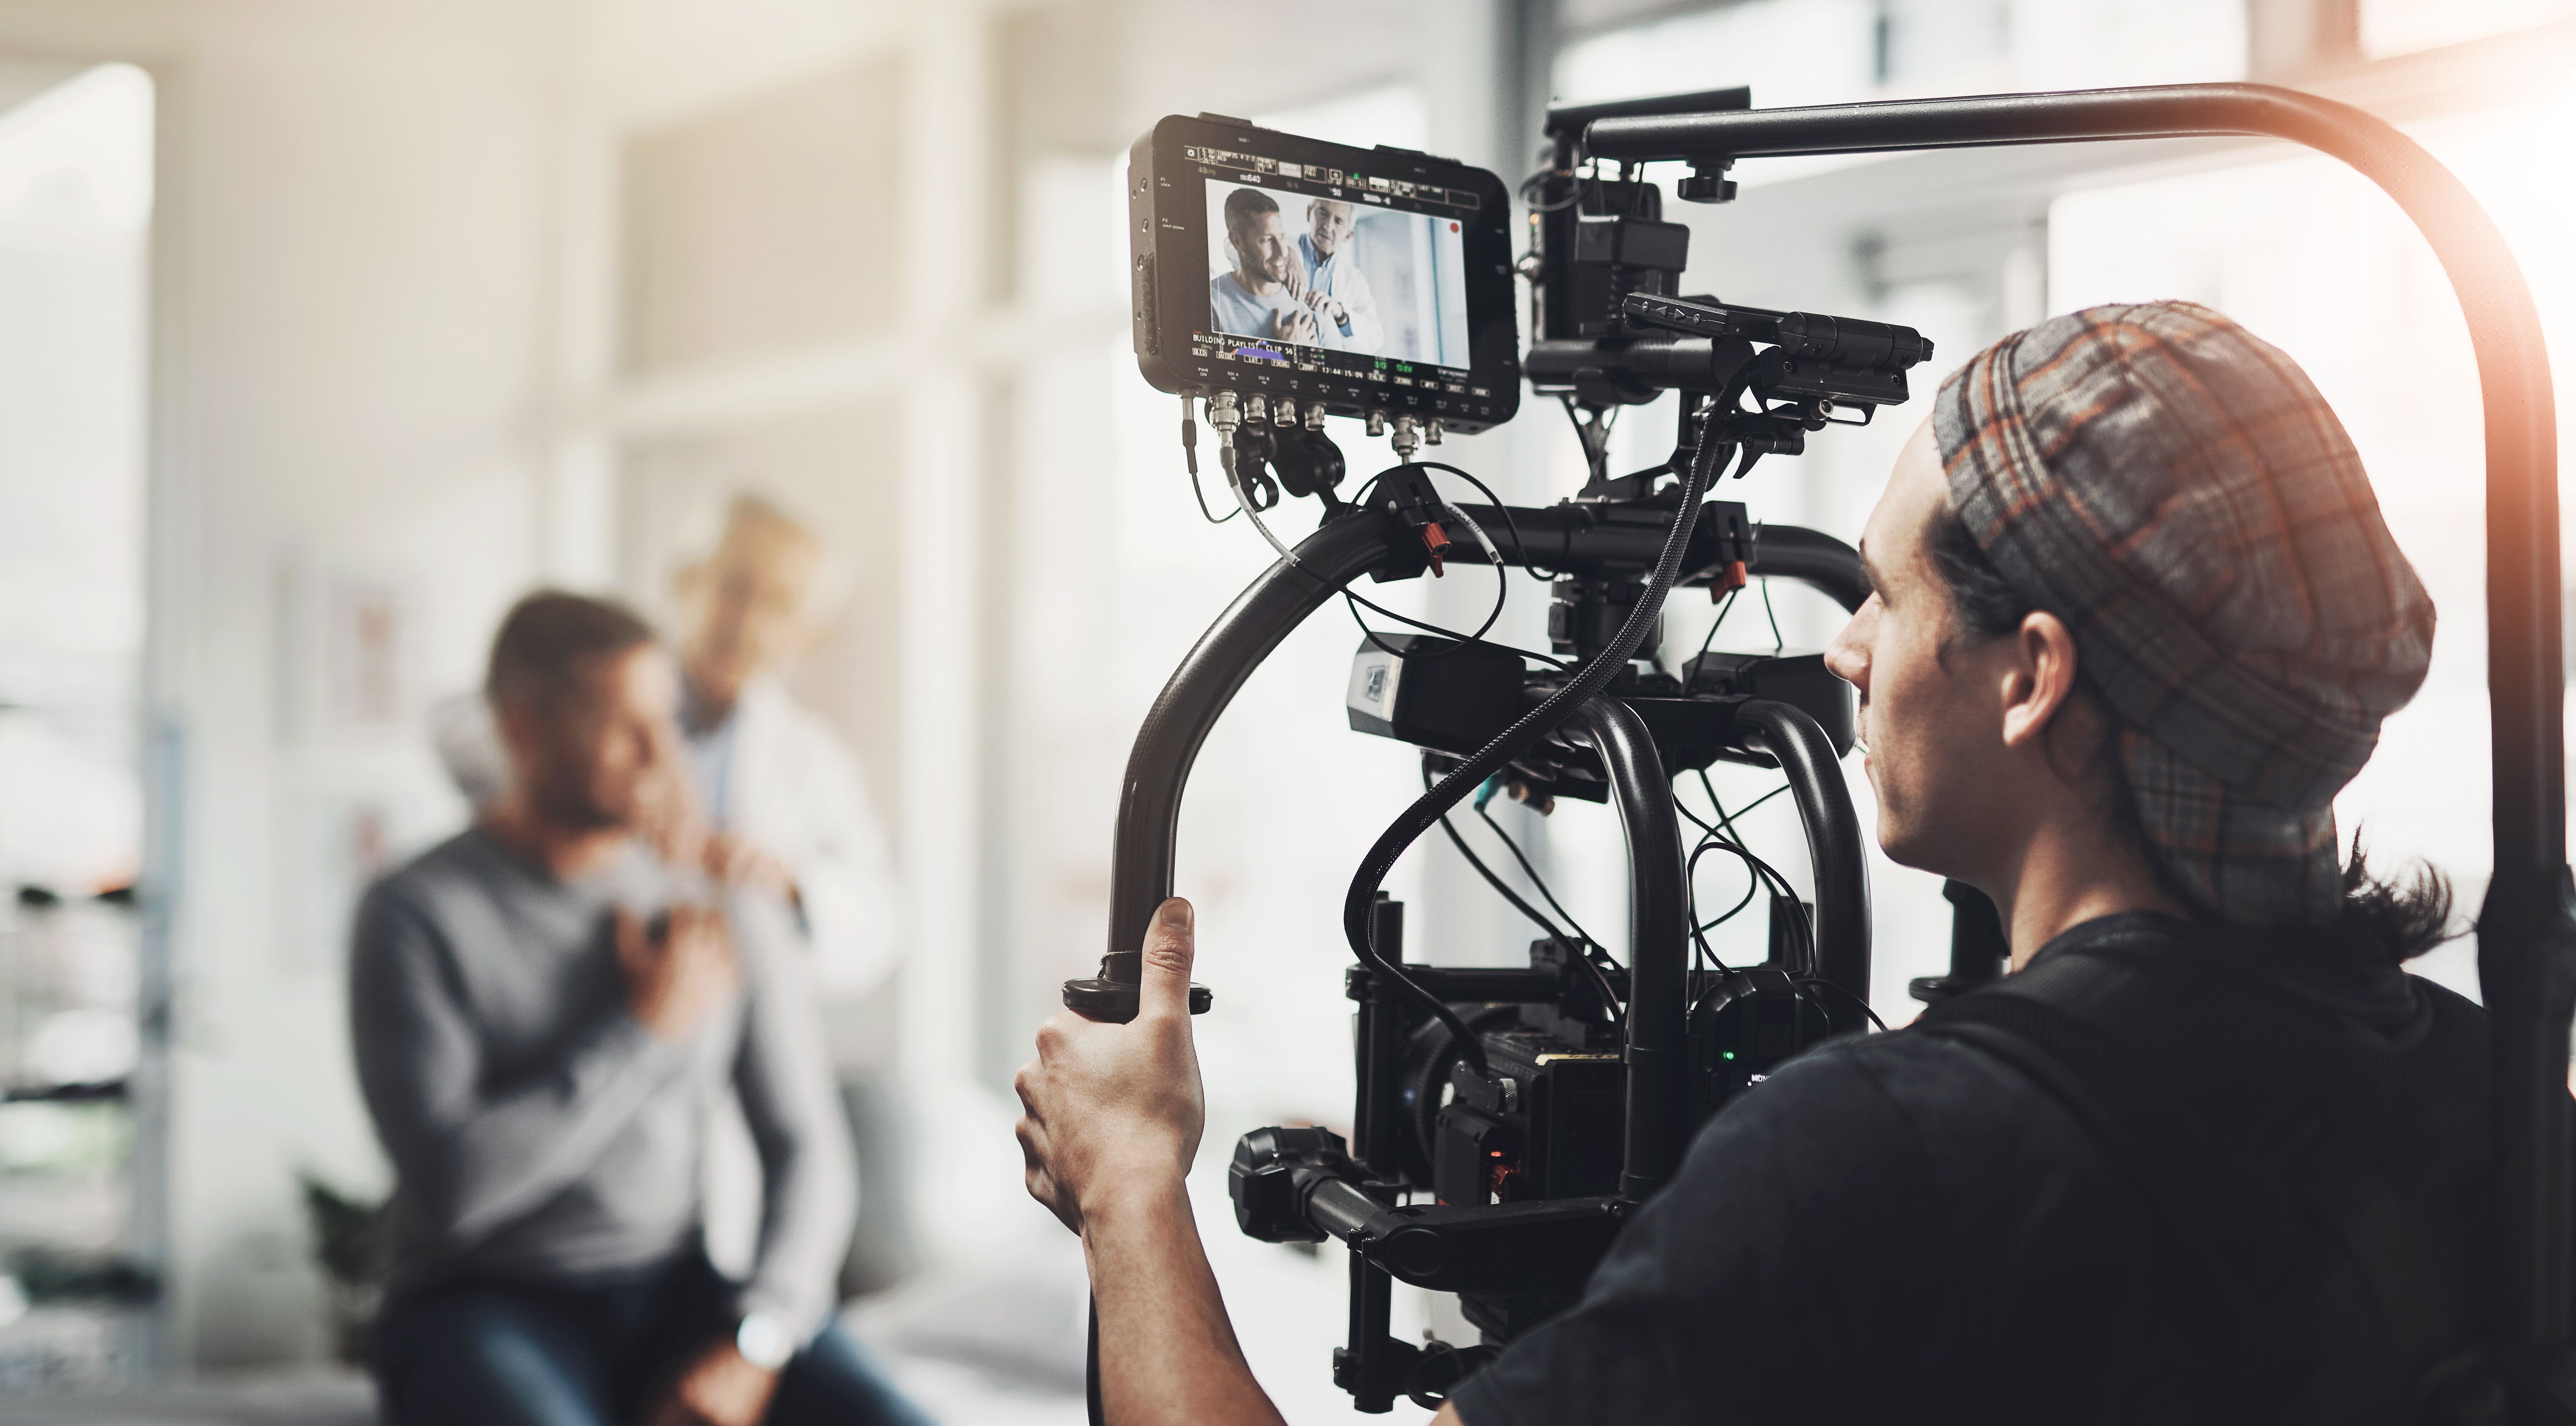
Position Your Camera and Lighting
Place your camera on the tripod and position it at eye level for the best composition. Ensure the camera is angled perfectly towards the backdrop. Proper lighting is crucial for capturing high-quality images, so adjust your lights to eliminate shadows and brighten the scene evenly. If using natural light, ensure it's not too harsh; diffused light works best.
Test Your Setup
Before guests arrive, take a few test shots to ensure everything is in order. Check the lighting, camera settings, and backdrop alignment. Make any necessary adjustments to enhance the quality of your photos. It's better to identify potential issues beforehand rather than during the event.
Create a Sharing Station
Consider setting up a sharing station where guests can view and share their photos. This could be done with a tablet or laptop connected to the camera. Alternatively, you can use an instant printer to provide physical copies of the photos. Ensure the process is seamless and user-friendly.
Enjoy Your Photo Booth
With everything in place, it's time to enjoy your homemade photo booth! Encourage guests to get creative with poses and props. A well-set-up photo booth can become the highlight of any gathering, offering entertainment and memorable moments for everyone involved.
Troubleshooting Tips
If you encounter any issues during your event, don't panic. Here are some quick troubleshooting tips:
- Blurred Images: Check if the camera is stable on the tripod and adjust the focus settings.
- Poor Lighting: Experiment with different lighting angles or increase light intensity.
- Camera Malfunctions: Have spare batteries or chargers ready for quick replacements.
By following these steps and tips, you'll have a seamless photo booth setup that will keep guests entertained and provide them with cherished memories to look back on.